The concept of Positive Pay involves a process of reconfirming key details of large value cheques. Under this process, the issuer of the cheque submits electronically, through mobile app certain minimum details of that cheque (like date, name of the beneficiary / payee, amount, etc.) to the drawee bank, details of which are cross checked with the presented cheque by CTS. Customer have to submit the details of cheque amount of Rs. 5,00,000 and above. Customer have to first register his account for positive pay at branch.
Once the registration process at Branch is done, Customer will have to complete the process of registration through JFinPay+ Mobile application.
On successful registration, JFinPay+ app is ready for Cheque details capture/entry and its upload to the Bank.
This document will guide you through the registration process and the options for Cheque scanning, cheque details entry, Upload of cheque details, deletion of unwanted cheque detail entry.
Registering with JFinPay+Mobile Application
After registering for ‘Positive Pay’ at branch level, user need to download ‘JFinPay+’app through Google play store.
After download, User will have to give all necessary permissions one by one
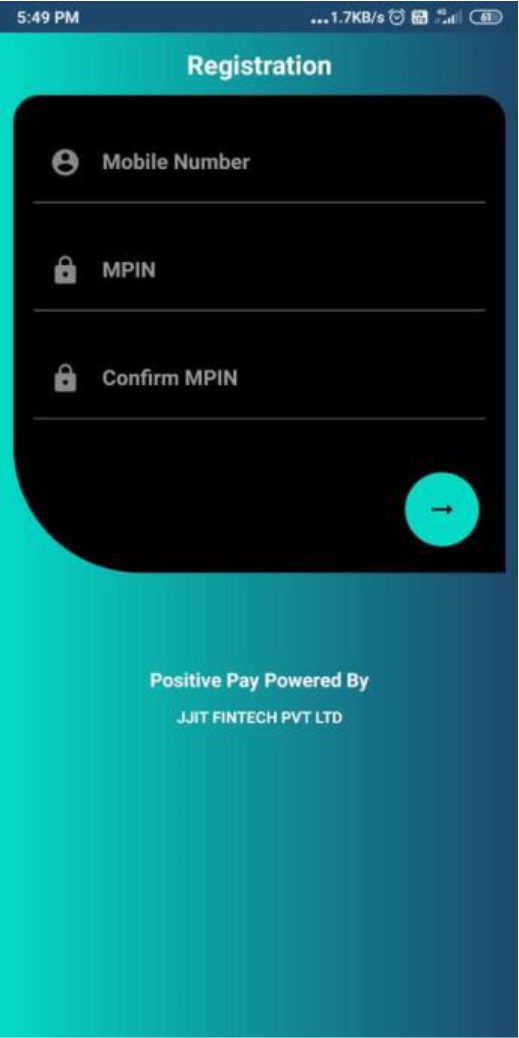
Once done with all permissions, application will take you to the registration screen.
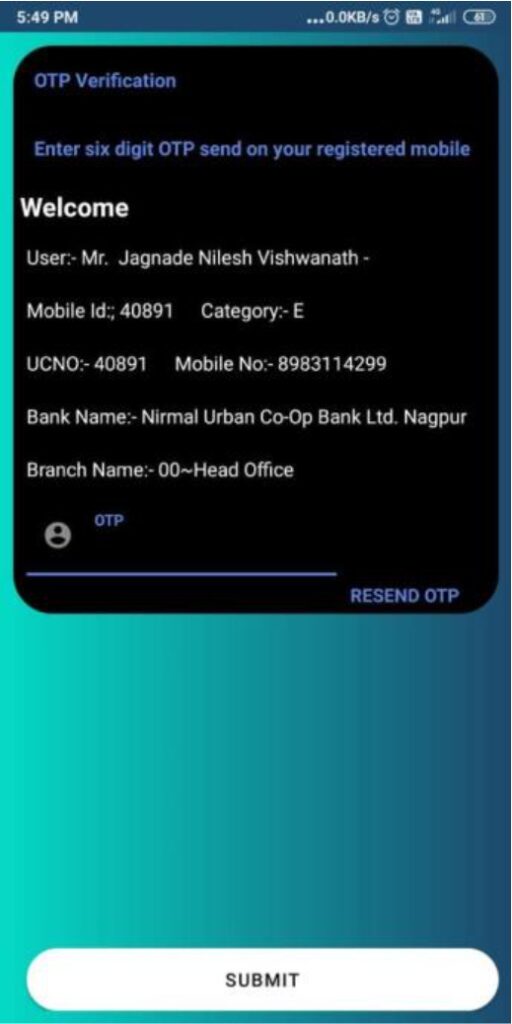
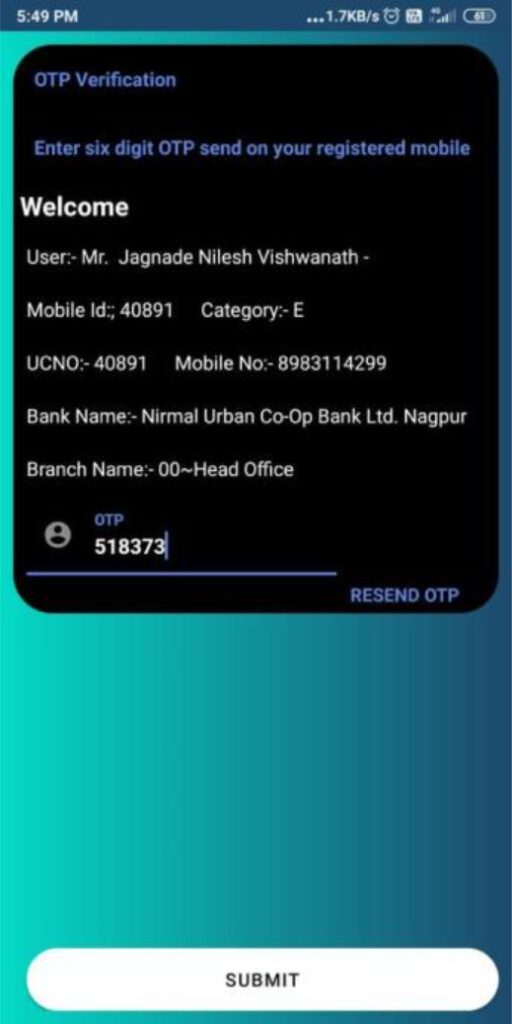
Enter the registered Mobile Number, MPIN and Confirm MPIN and click on button.An OTP for validation/verification will be received. Enter the OTP and press ‘SUBMIT’ button. Application will confirm the OTP and will show the message for successful registration.
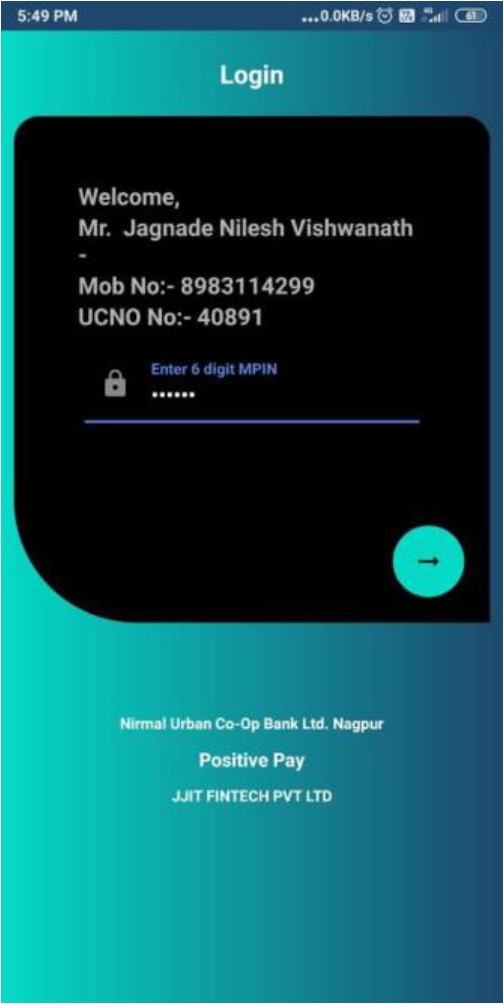
Now user need to enter 6 digit MPIN and then click on next –> arrow button
This completes the process of Registration and first login to the ‘JFinPay+’ application.
‘JFinPay+’ app is now ready to serv the customer for the scanning, entry and upload of the Cheque details for the accounts registered for ‘Positive Pay’.
Following are the steps and options for the process of uploading cheque details for ‘Positive Pay’.
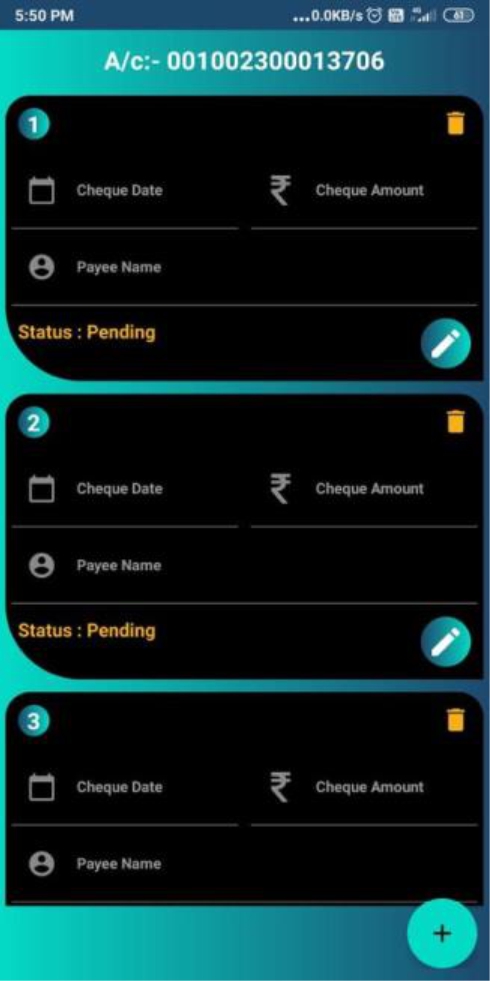
On login to the app, the app will show the list of accounts available to the customer for uploading the cheque details for ‘Positive Pay’.
The user will have to select the account for which he/she wish to upload the cheque details for ‘Positive Pay’.
On selecting the account, app shows the screen for addition of cheque details. By default, the screen has only one cheque detail entry screen
User can add up to 5 cheques using add button at right-hand corner. For user convenience, the facility to add 5 cheques has been provided.
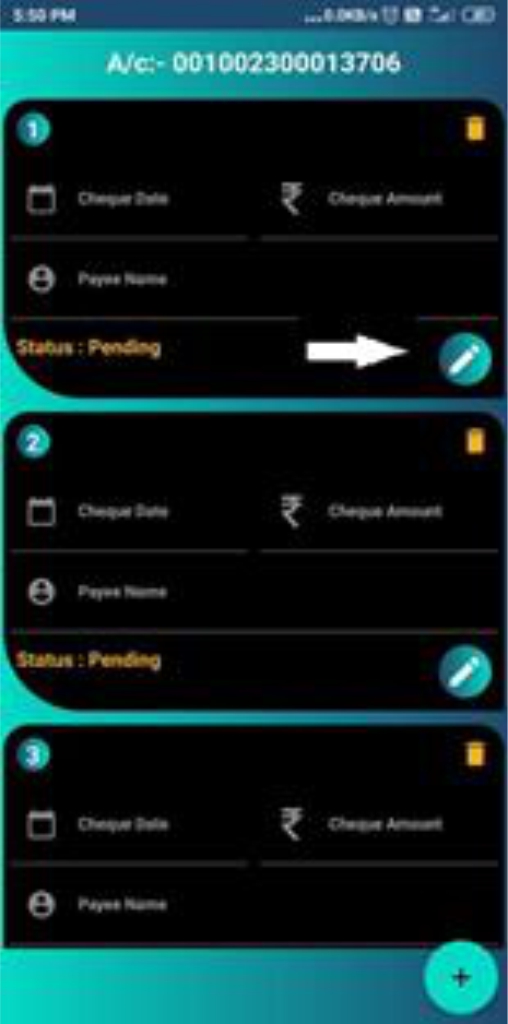
To create Cheque entry, click on Edit Button.
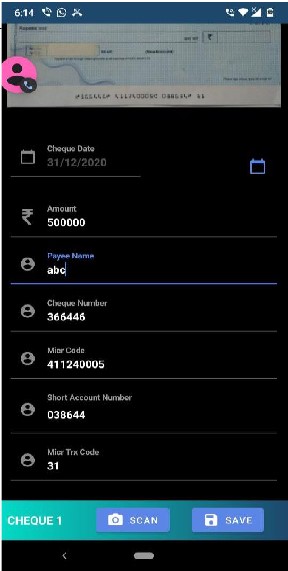
On clicking the button, the app will open the Cheque entry screen.
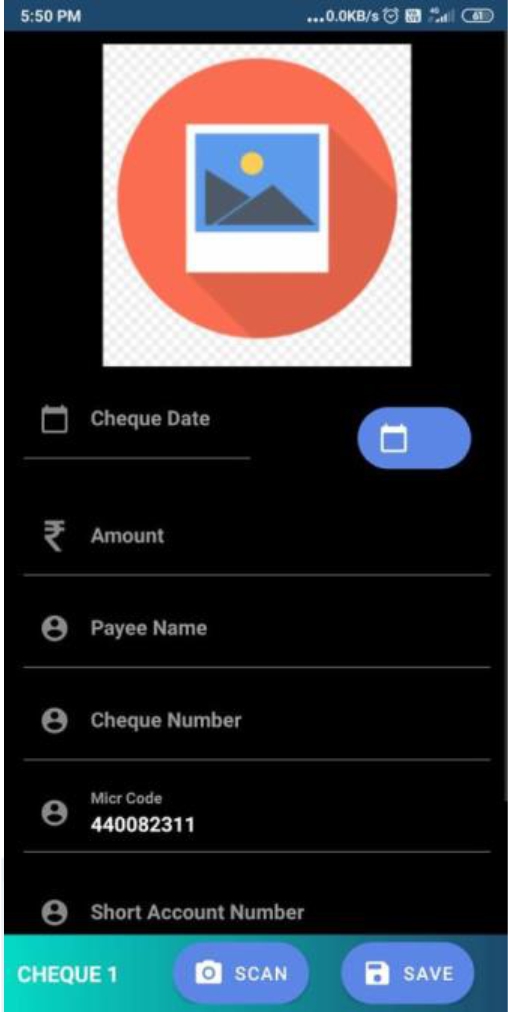
On above screen, user can either enter the cheque details directly, or can opt for scanning the image of cheque for auto capturing some details. Scanning of cheque image is not mandatory.
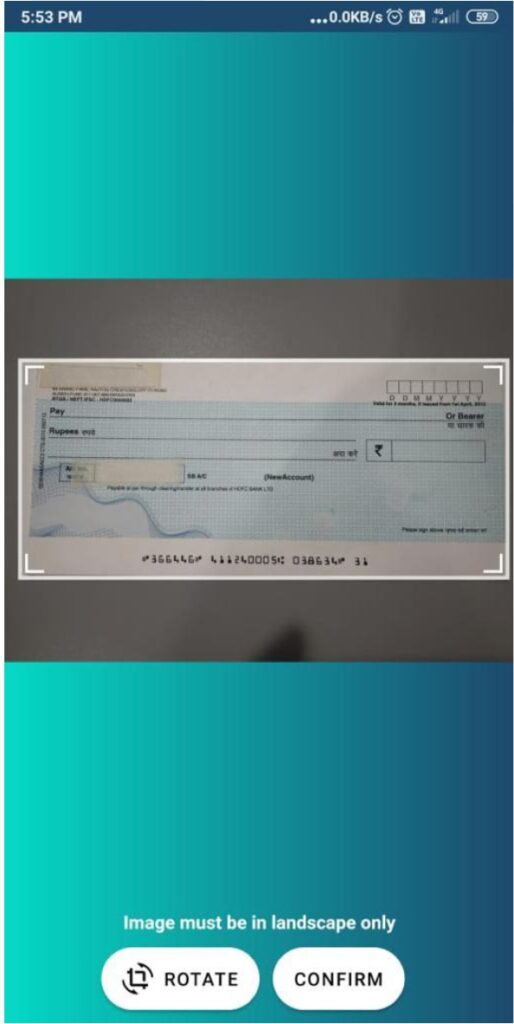
To scan the cheque image, press the ‘Scan’ button at the bottom of the screen, and capture the image of the cheque as shown in below screen. Press ‘Confirm’ button tocapture the cropped image.
Note : – Image must be in ‘landscape’ format only as shown in above Image.
After Scanning the image, app will capture and autofill the values of Cheque Number, MICR code, Short Account Number and MICR trx code automatically based on image quality. User will have to enter values for Cheque Date, Cheque Amount and Payee Name.
Note : User shall need to confirm the auto filled values before saving the details.
After entering all the values either directly or by scanning the cheque image, user have to press ‘Save’ button to confirm the cheque details.
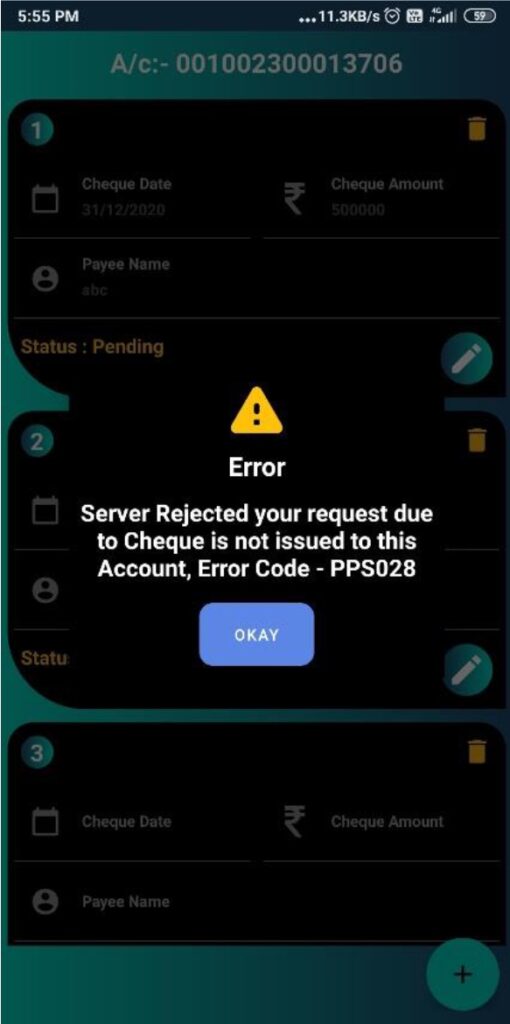
If the cheque number entered by the user or captured by the app through the scanned image is not issued to the selected account, then the app will not allow to save that cheque details and will show the error message as shown in below screen.
If the values are entered directly without scanning the cheque image, app will ask for confirmation for it as shown in below image
On pressing ‘Confirm’ button, app will save the values.
App will show the cheque detail on default cheque entry screen as shown in above screen.
If User wish to delete a particular cheque detail entry, then he can delete the cheque details by pressing the Delete button .
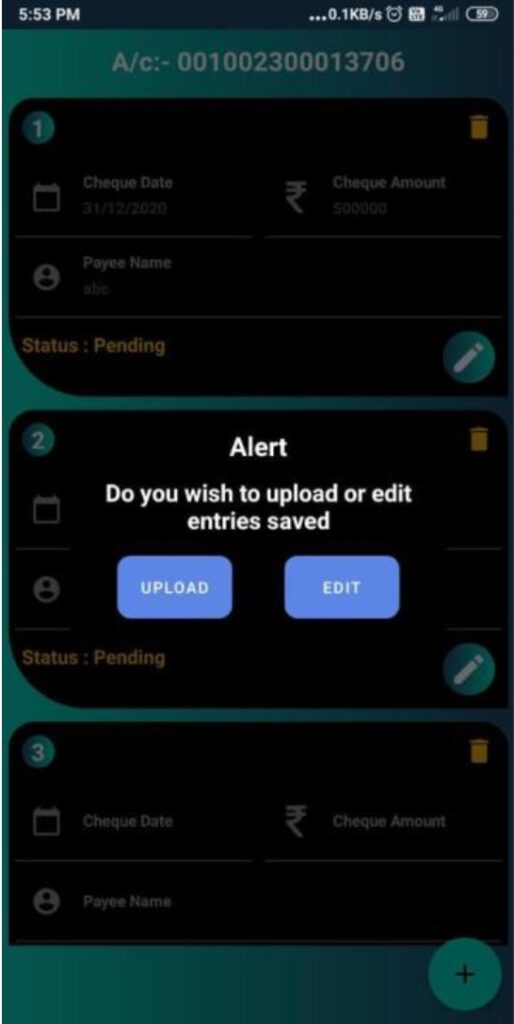
After entering and saving the cheque details, press the ‘Edit’ button .An alert window will appear. To edit the saved details, user can press the ‘EDIT’ button. To Upload the saved details, user have to press ‘UPLOAD’ button.
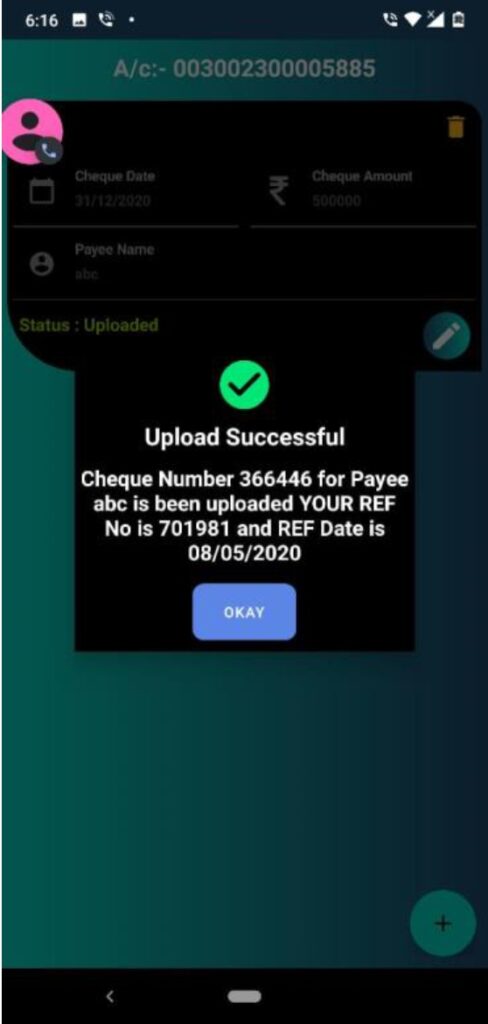
On ‘UPLOAD’ button press, app Uploads the cheque details to the Bank and shows the Upload confirmation message.
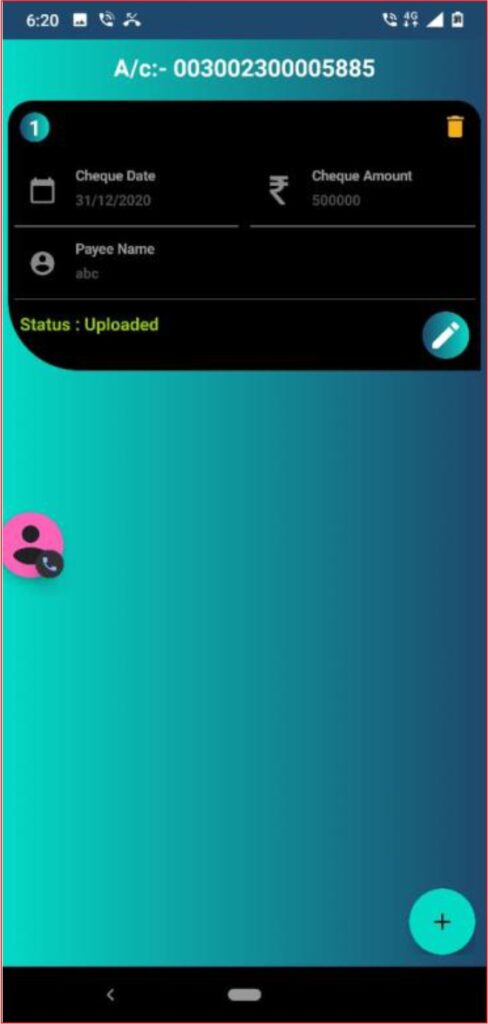
Status of the uploaded cheque can be seen as ‘Uploaded’ at left bottom corner of the Cheque detail screen as shown in below screen
Once cheque details are uploaded, user can not Delete or Edit the cheque details. On trying to Edit or Delete the details, app shows the denial message as shown in below screen.
User can enter and upload 1 to 5 cheque at a time.
Process of Cheque entry and its upload for ‘Positive Pay’ gets completes with this step.
Further processing of cheque details uploaded for ‘Positive Pay’ happens at Banks end with WebjCore.